


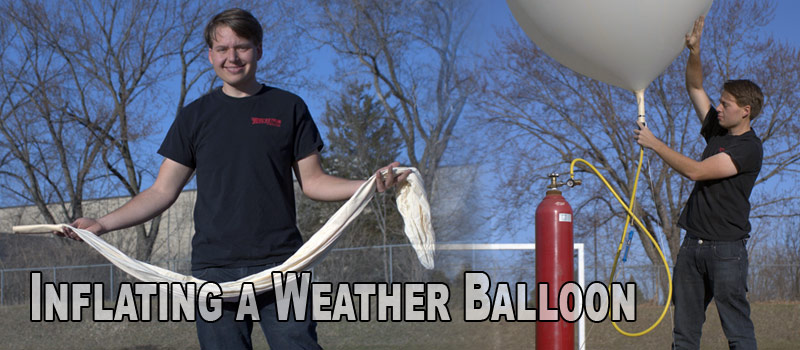
To learn how to fill a weather balloon, we recommend using our weather balloon inflators available on our website and following the instructions and photos below. You will want to use 100% pure helium, which can be found easily at most gas welding stores near you. Also, most balloon party stores will have helium, but make sure to ask them that it is not mixed with nitrogen. For finding out what size helium tanks will be needed, check out our Balloon Performance Calculator, available here: Stratocast – Online HAB Flight Forecast (stratocast-mvp.herokuapp.com)
Here is how we recommend filling your weather balloons. Our weather balloon inflators are available here: Weather Balloon Inflator | (the-rocketman.com)
1. Take the other end of the included piece of Kevlar and tie it to the top of your scale. You may use either the one that is included or a digital version. Then the last piece of Kevlar will go from the bottom of the scale to our Weather Balloon Spiral Anchor, which will help with weighing the balloon during inflation.
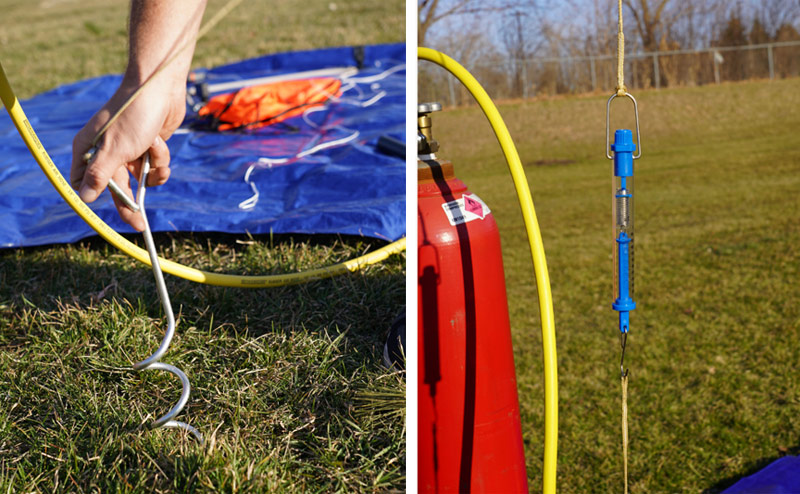
2. Attach the inflation system to your helium gas cylinder using a crescent wrench. You will want to make sure it’s tight, and there are no leaks.
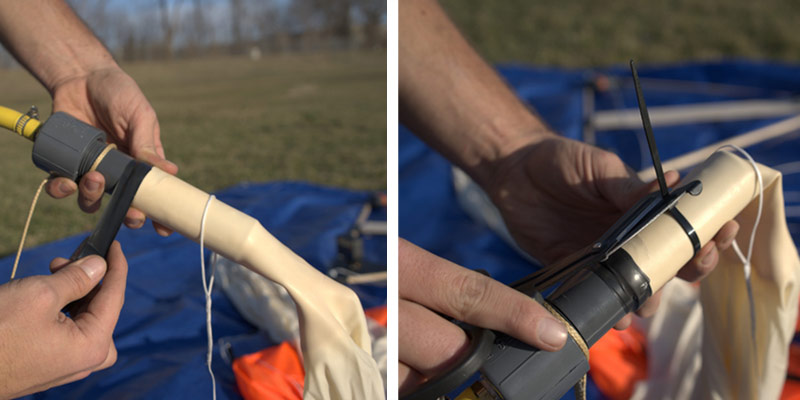
3. Slide the included piece of spectra around the inflator. This piece will attach to the scale. Then insert the inflation system nozzle into your weather balloon’s neck. Do not unroll the weather balloon yet. It is much easier to work with the balloon’s neck when the balloon is still rolled up.
4. Secure the weather balloon to the inflation system nozzle. Wrap both the neck of the balloon and the bottom of the inflation nozzle together with electrical tape and zip ties. Make sure to cut the zip tie ends off with a short scissors, with your hand behind the scissor point so you do not accidently poke balloon. Both you and your helpers should wear gloves, so the oils from your skin do not hurt the balloon.
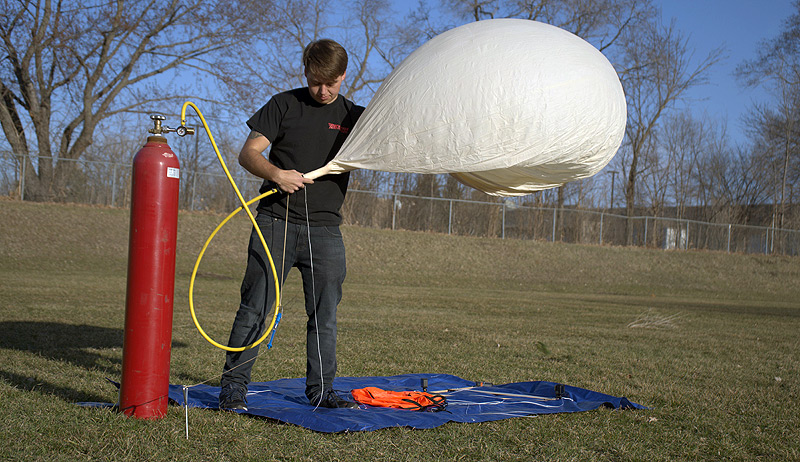
5. Unroll the balloon and prepare it for inflation. Before you start to inflate your weather balloon, have your helper hold the balloon loosely over their forearms. Having a blanket on the ground is recommended to prevent the balloon from getting torn.
6. Take the other end of the included piece of Kevlar and tie it to the top of your scale. You may use either the one that is included or a digital version. Then the last piece of Kevlar will go from the bottom of the scale to our Weather Balloon Spiral Anchor, which will help with weighing the balloon during inflation.
7. Slowly open the valve on your helium gas cylinder to begin inflating your balloon.
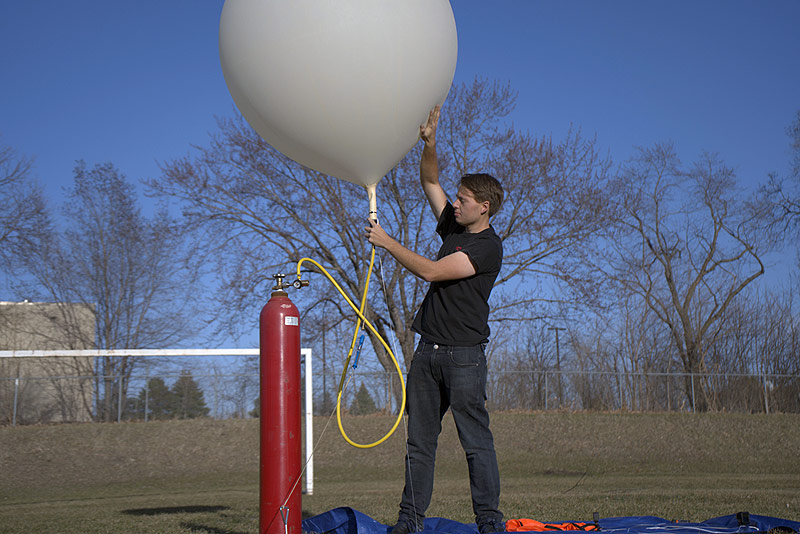
8. Let the balloon lift itself out of your helpers’ forearms. Eventually, the balloon will rise out of your helper’s arms. You can now start measuring your balloon’s lift.
9. Inflate your balloon until it has the right amount of lift, which our Balloon Performance Calculator calculates. This calculator can be found here: Stratocast – Online HAB Flight Forecast (stratocast-mvp.herokuapp.com) When measuring your balloon’s lift, make sure there is slack in the inflation hose. You want all the balloon’s lift to be pulling up on the scale, not the inflation hose. Do not forget to add the weight of the inflation nozzle to the reading on the scale. The inflation nozzle weighs 250 grams, so if your scale measures a lift of 800 grams, your balloon generates 1,050 grams of lift which is the measurement on scale plus the weight of the inflation nozzle.
10. Once your balloon has the right amount of lift, shut off the supply of helium.
